
The bridge pins that come with acoustic guitars usually have a channel for the string. This saves time during construction because you just need a straight hole through the bridge to fit the strings. While this saves time and money, it makes it hard to find replacement pins. Since acoustic bass guitars are not very common, acoustic bass guitar bridge pins aren't either.
This approach to construction may not even be what's best for the instrument. The bridge of an acoustic guitar conducts energy from the strings to the soundboard. With some small alterations to the bridge we not only open up our options for replacement pins, but could also improve the contact between string and soundboard, allowing us to get more out of the instrument.
In this guide I will show you how I replaced the bridge pins on an acoustic bass guitar. This includes finding the correct size pins and slotting the pin holes.
You will need a couple of things before you get started:
- Bridge Pins
- Needle Files
- Sandpaper (maybe)
Bridge Pins
Acoustic bass guitar bridge pins are a wider gauge than those used on standard acoustic guitars, and can be hard to find. Luckily there is an alternative. Violin end pins. These are widely available in various woods and designs, and with a couple of adjustments, are perfect for the job. The diameter of the pin holes in the bridge should match full size (4/4) violin end pins. It's fine if the pins are slightly thinner, but if they are wider you will need to sand them down (see below).
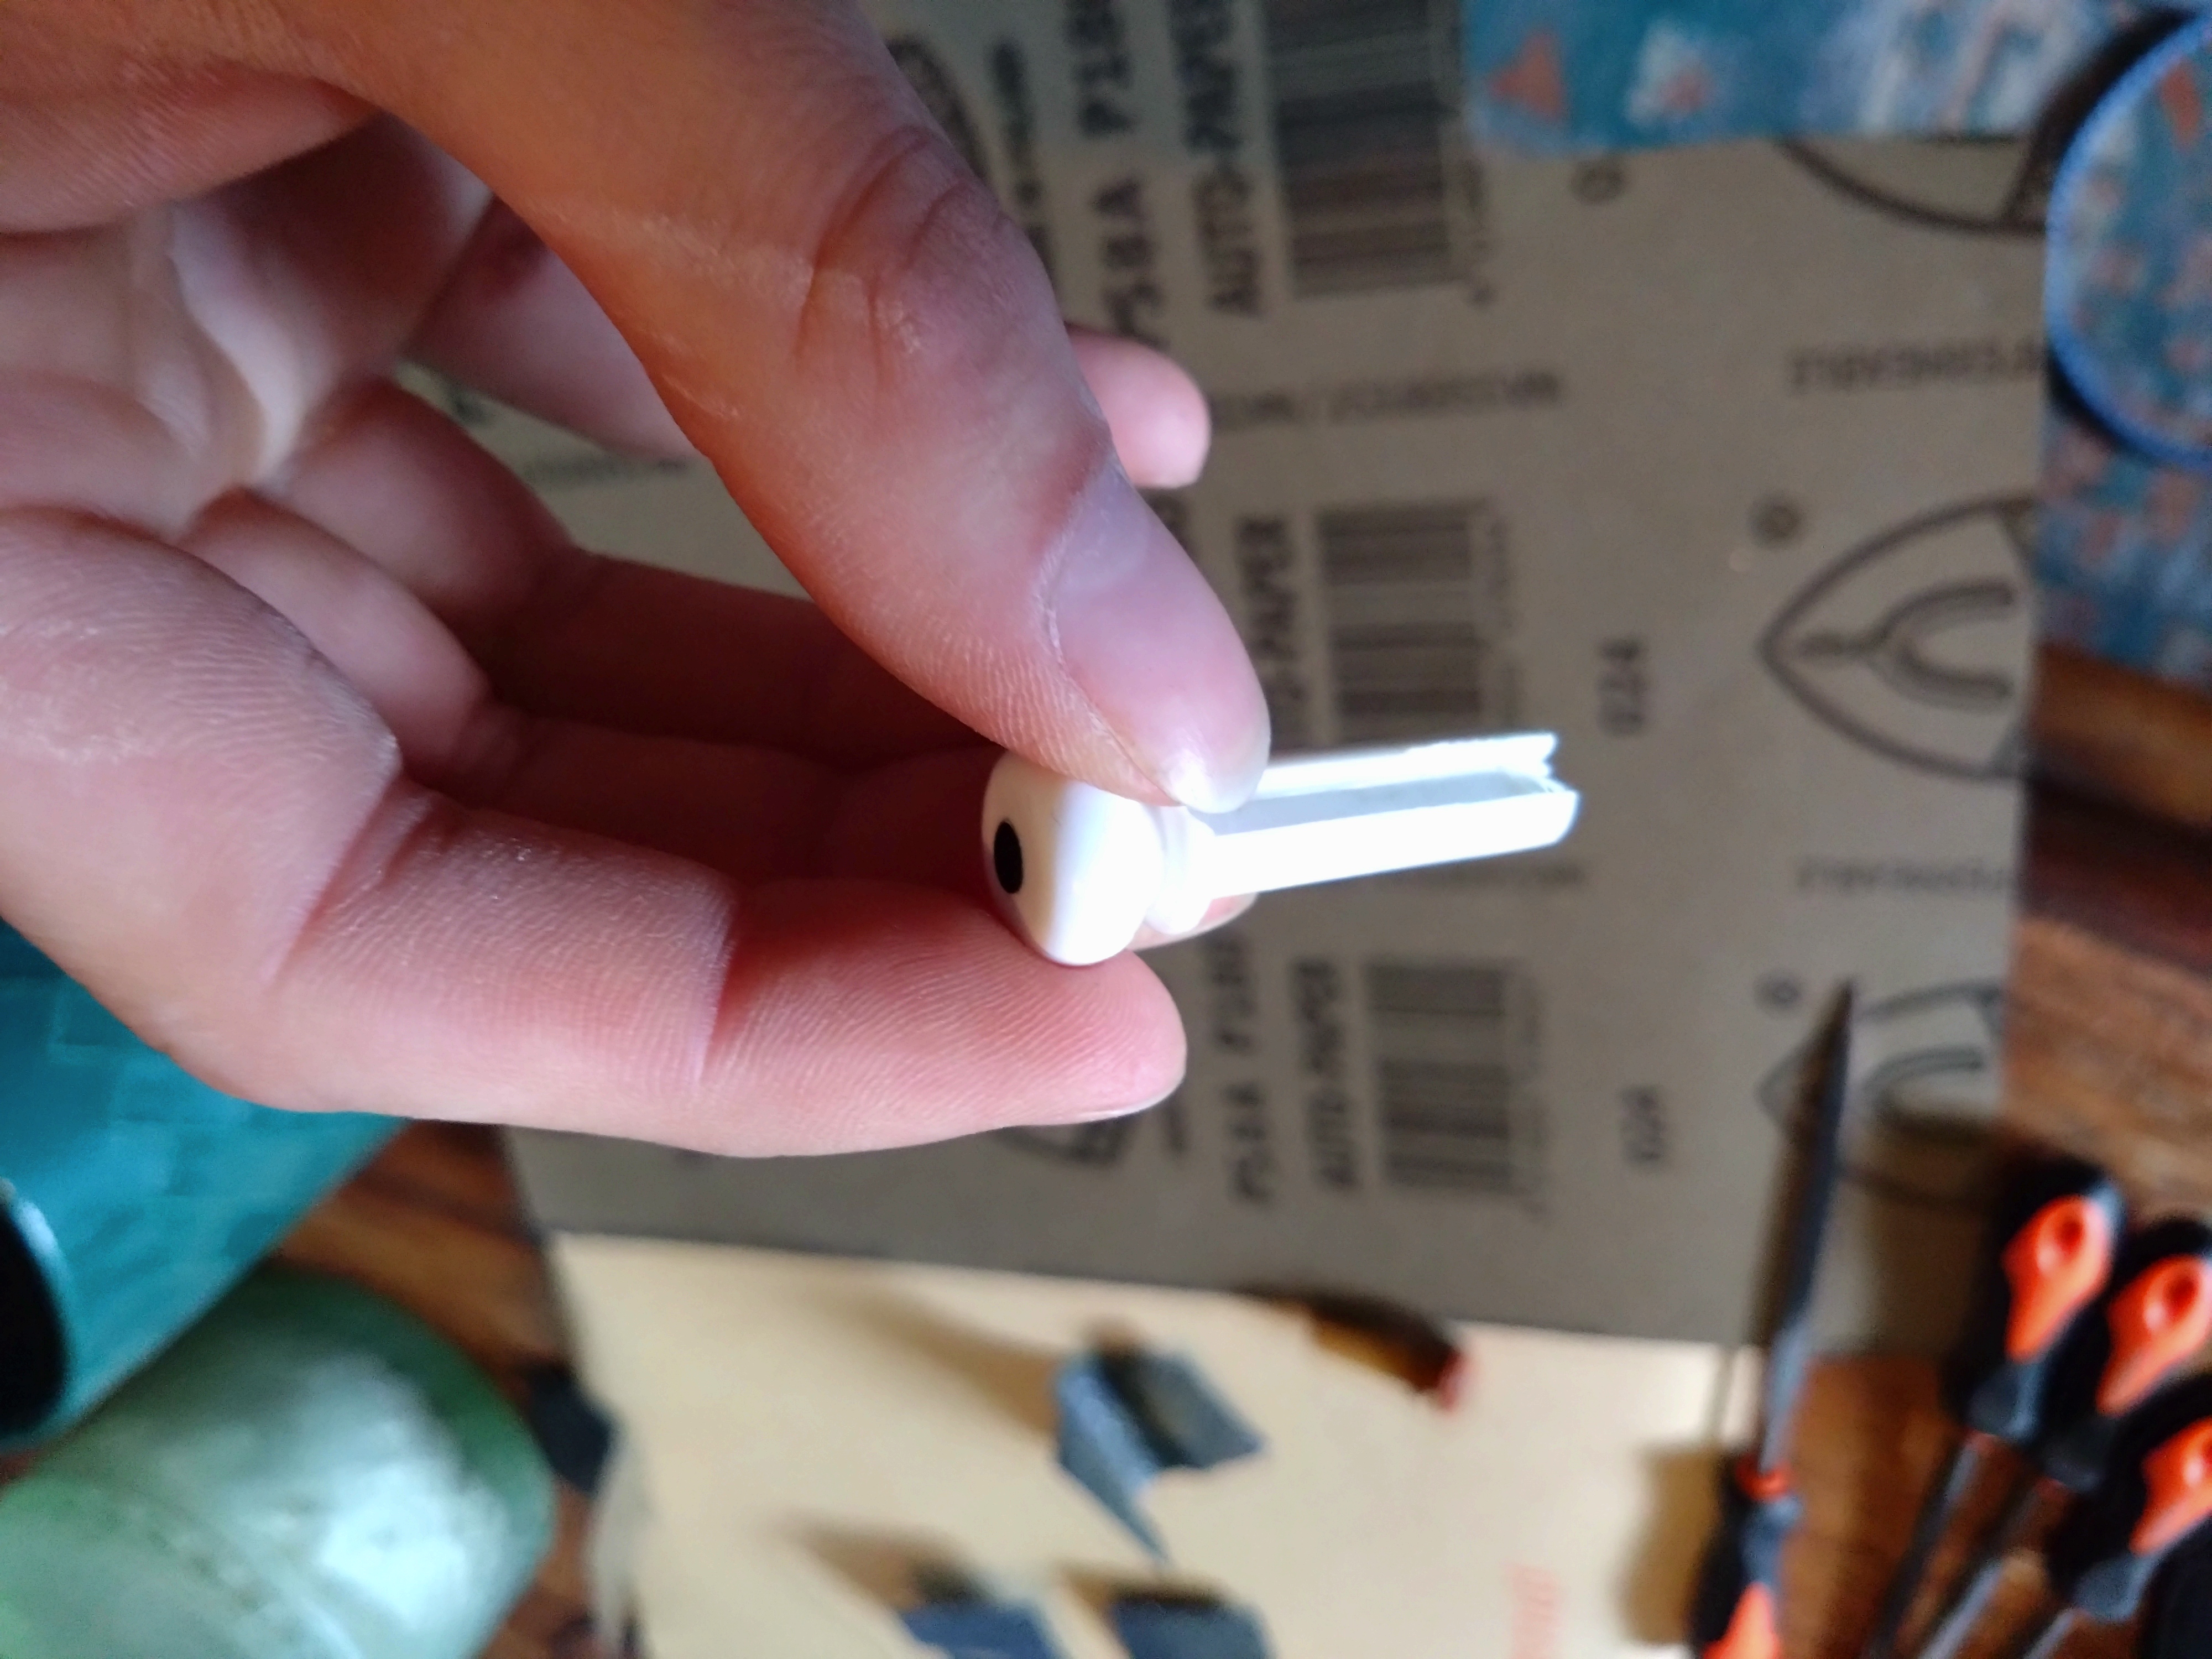
The original bridge pins are white plastic, with a channel for the string
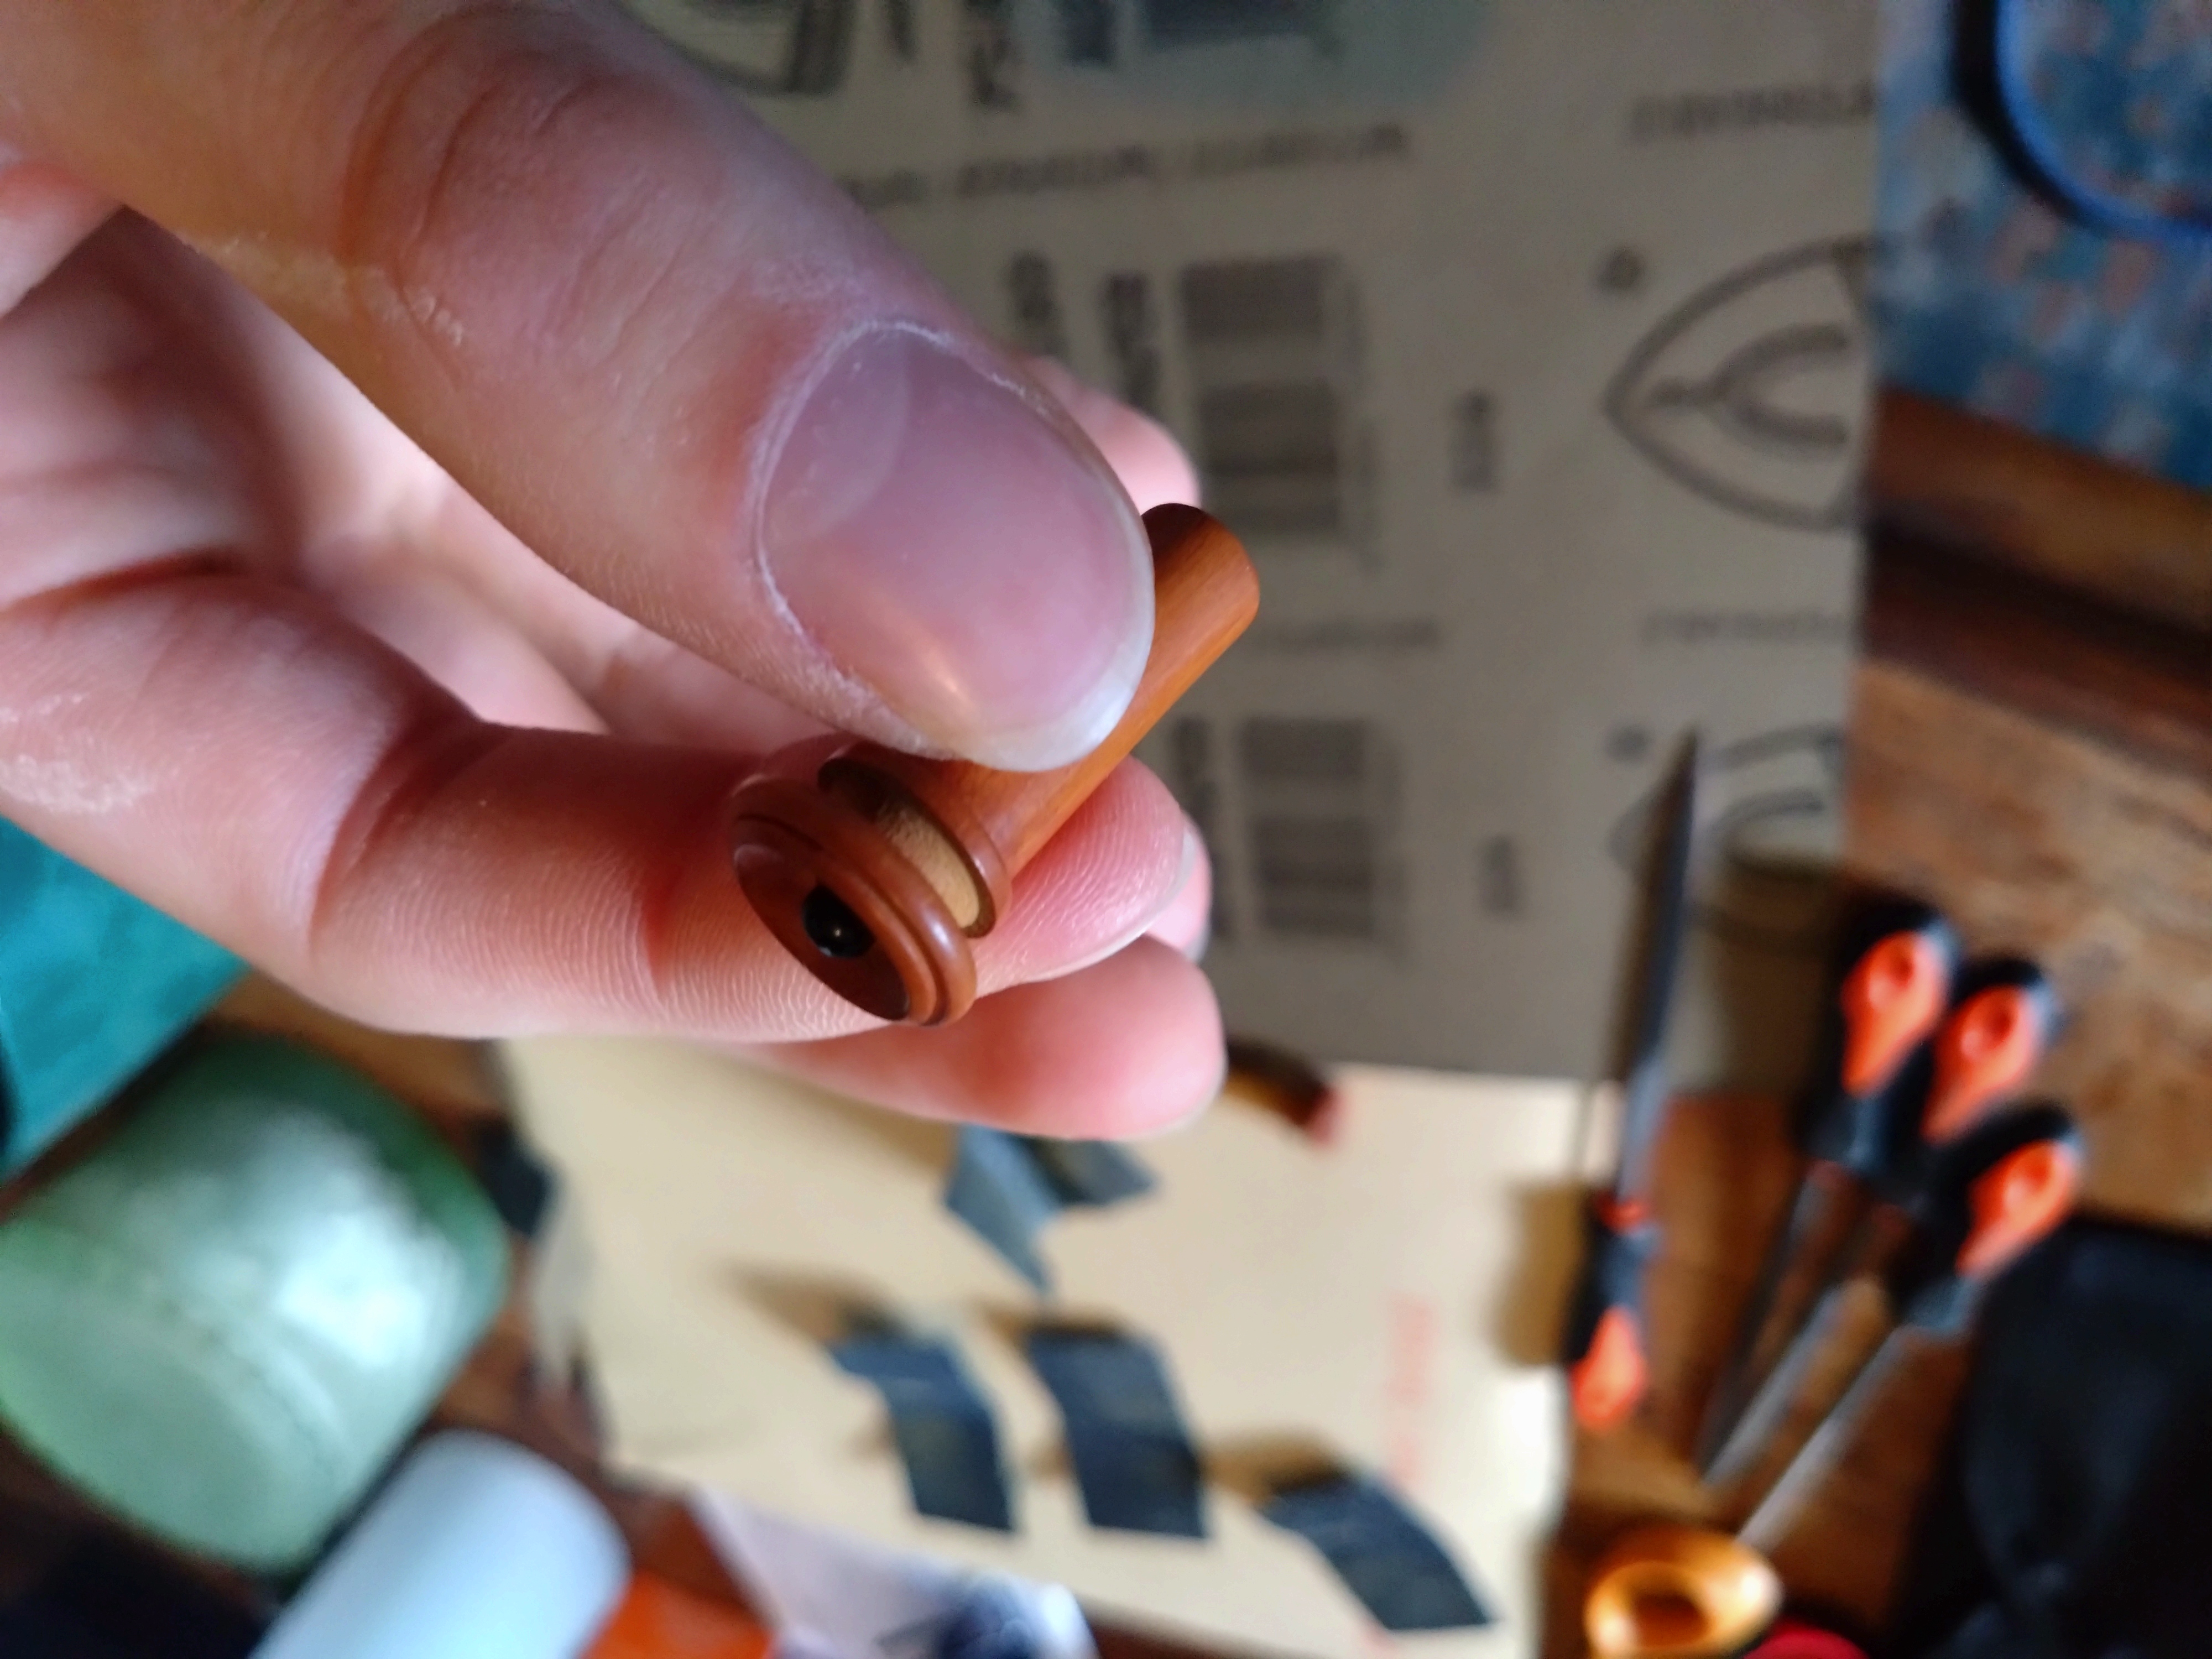
The replacement pins are wooden, and have no channel
Needle Files
These usually come in sets which are easy to find and inexpensive. As long as the set has a round file which is roughly the same gauge as your strings they should be fine. You may also want to use a wider file for the edges of the channel, and a thinner one for the slope at the top of the channel.
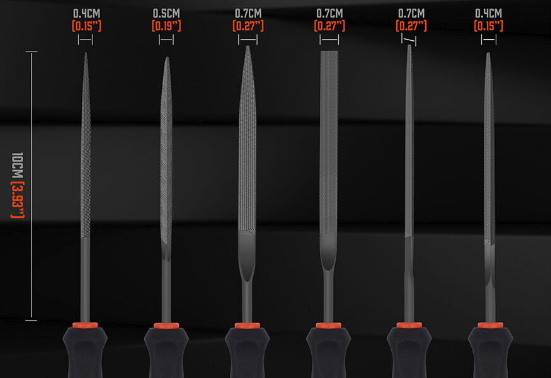
These were good for making channels for my 50-105 gauge strings (0.050"-0.105")
Sandpaper
If your replacement pins don't quite fit, you can sand them down. I used 60 to 180 grit paper which worked fine. Just make sure that you sand them down enough that the pin goes easily into the hole and is not tight. Different woods react differently to temperature and humidity, which could cause the bridge to crack if the pins are too tight.
How To
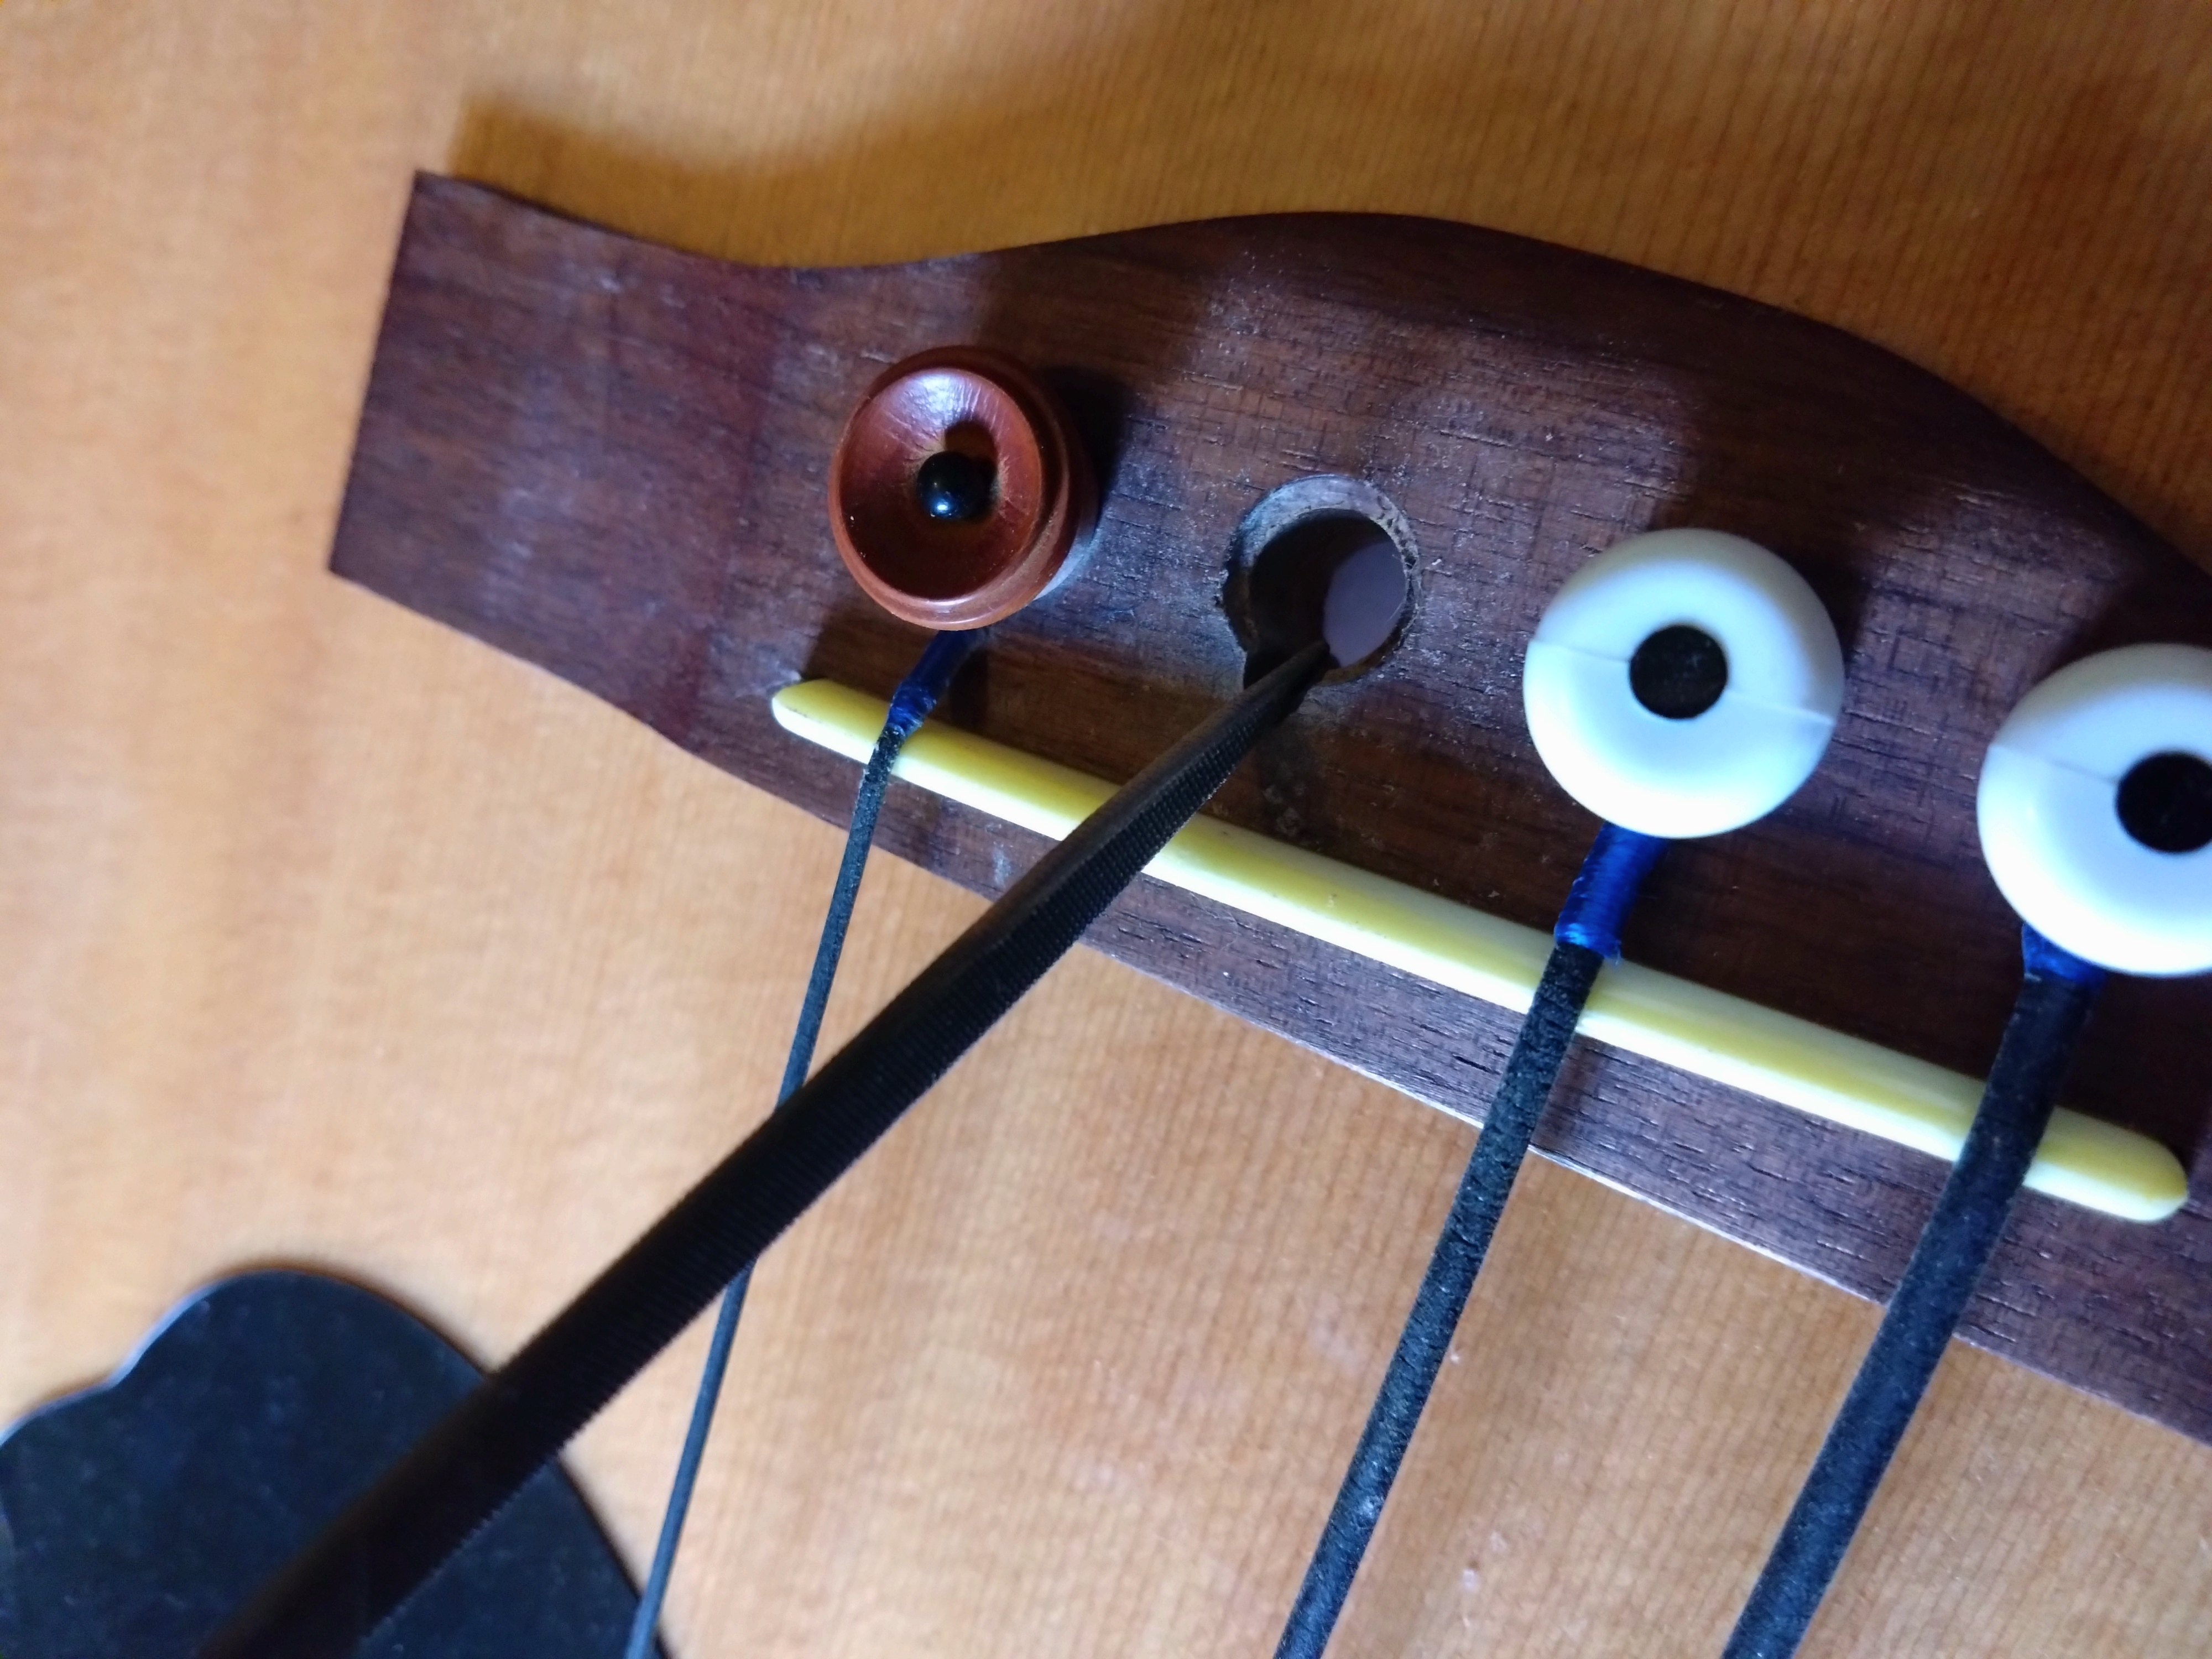
Start by loosening the string before pulling the pin out. Then use a round file to start making the channel.
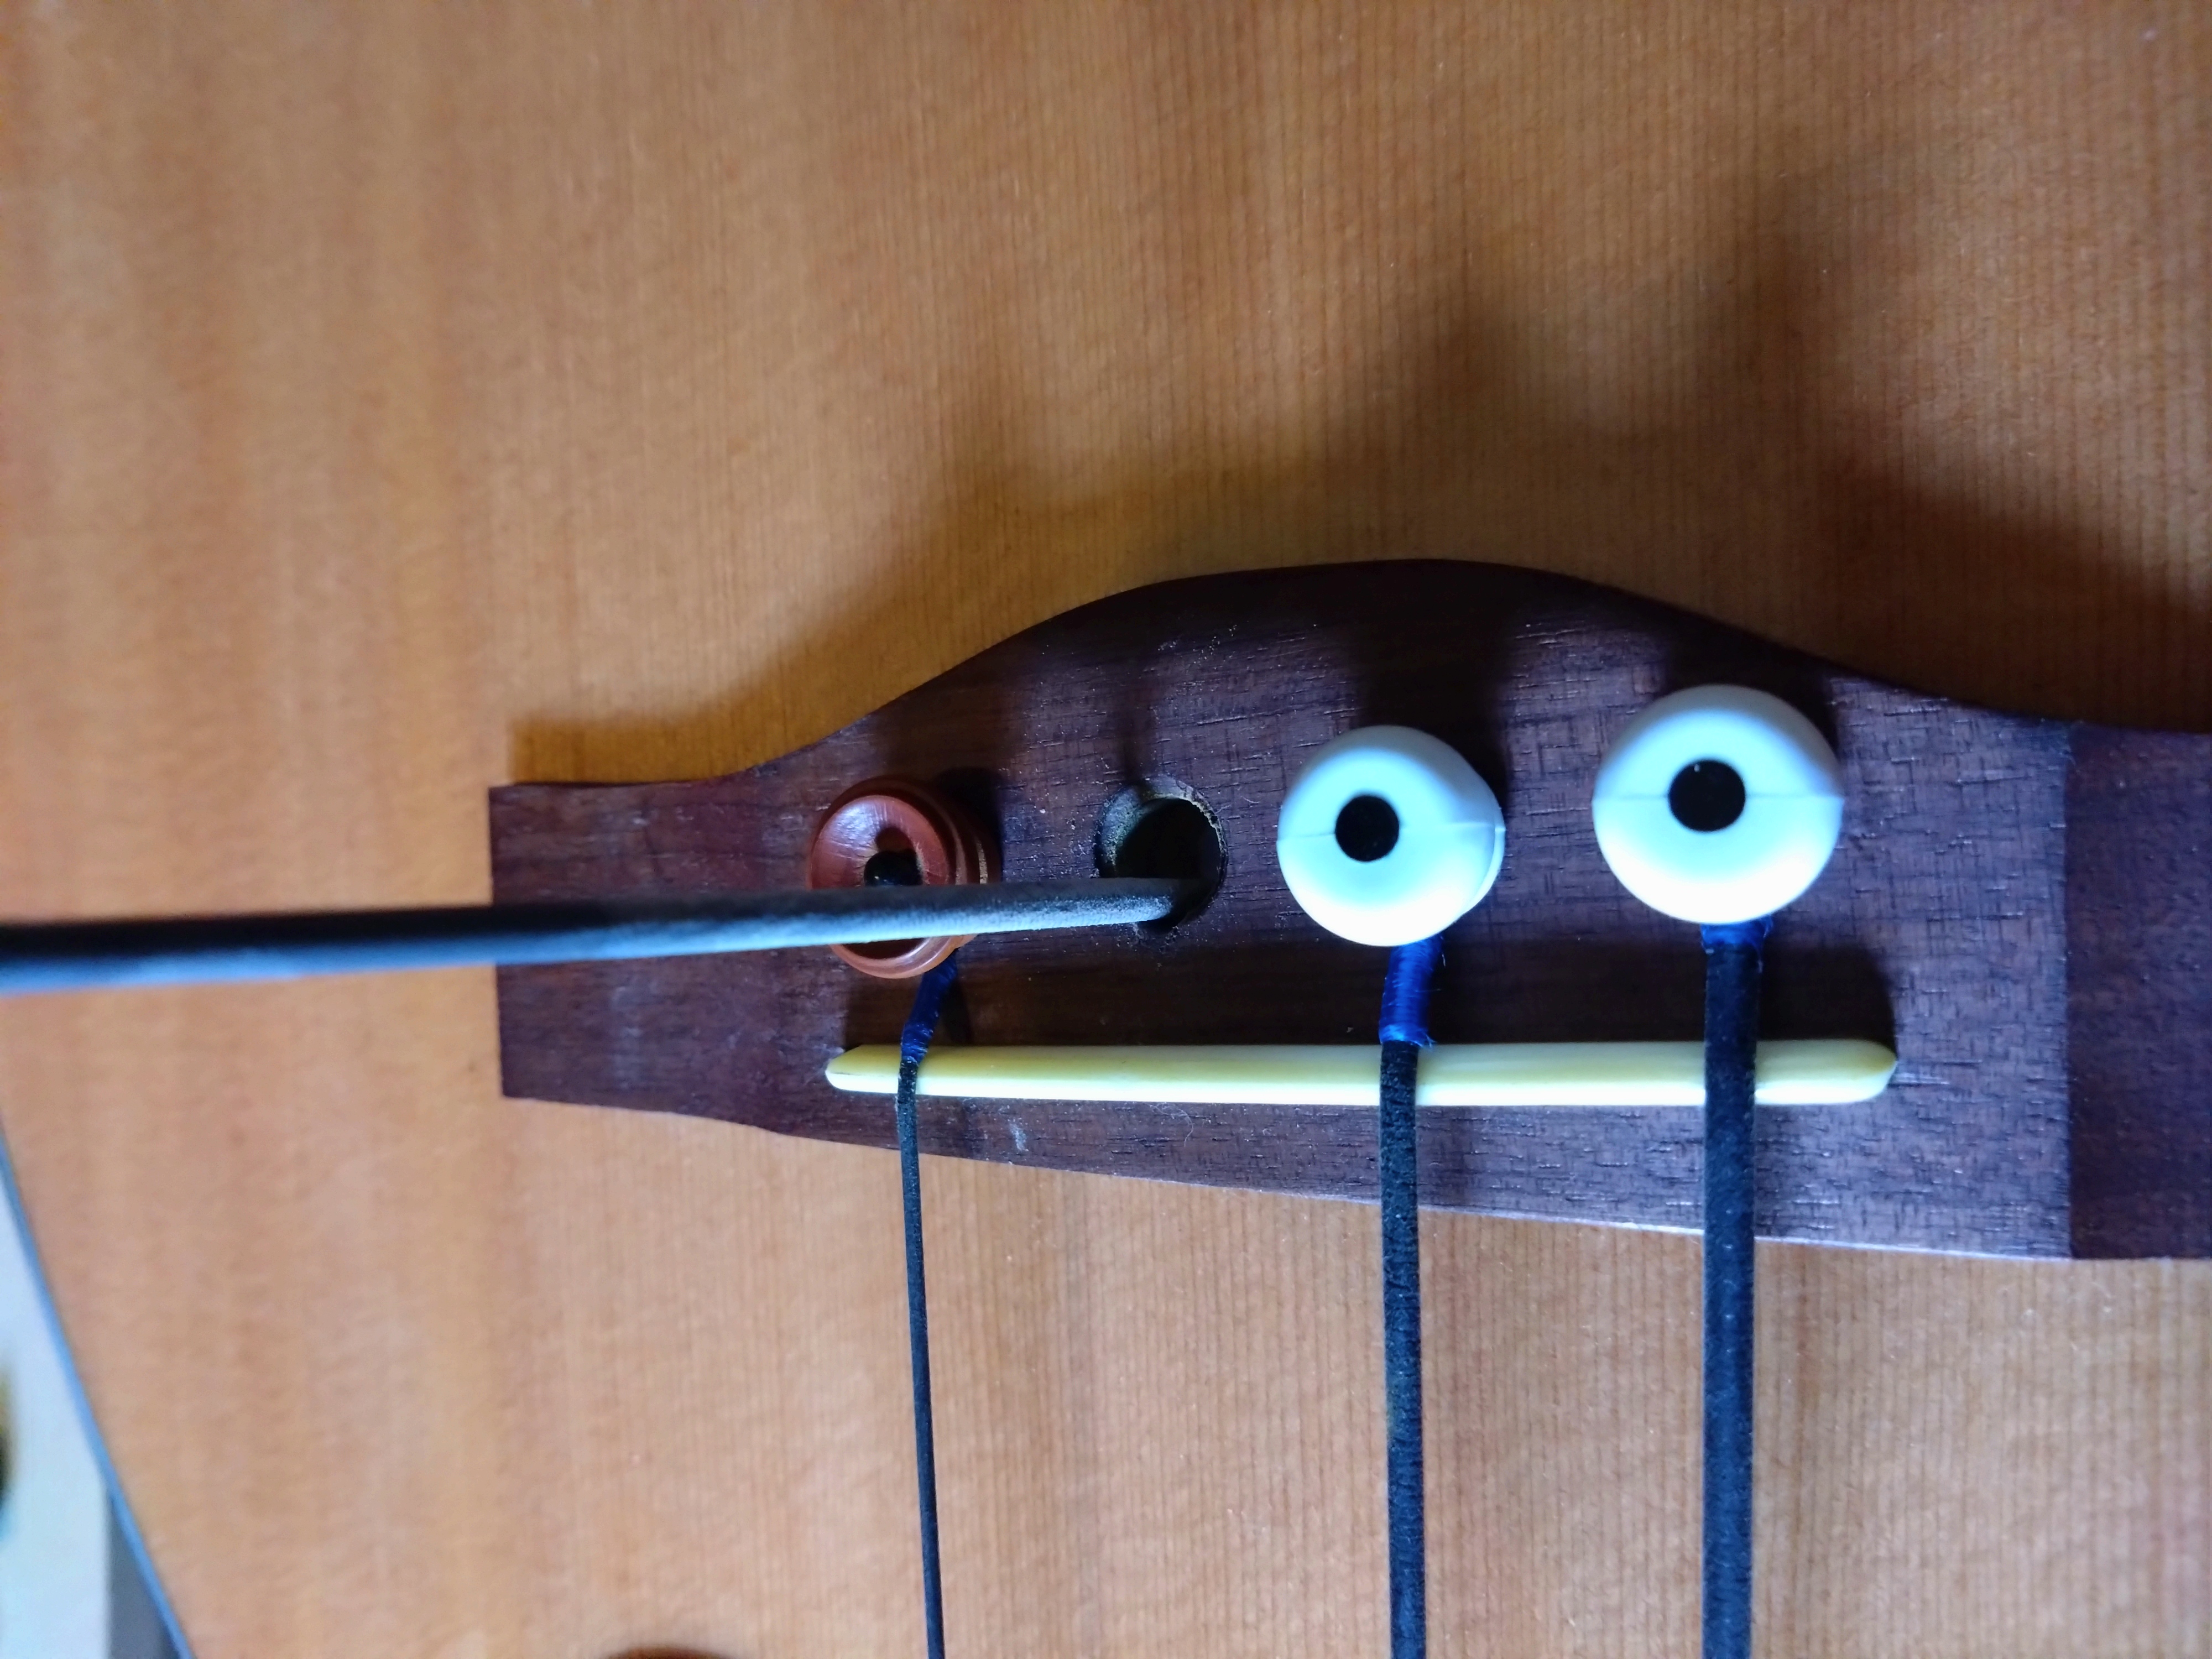
Hold the file upright and make sure to file the channel straight towards the saddle
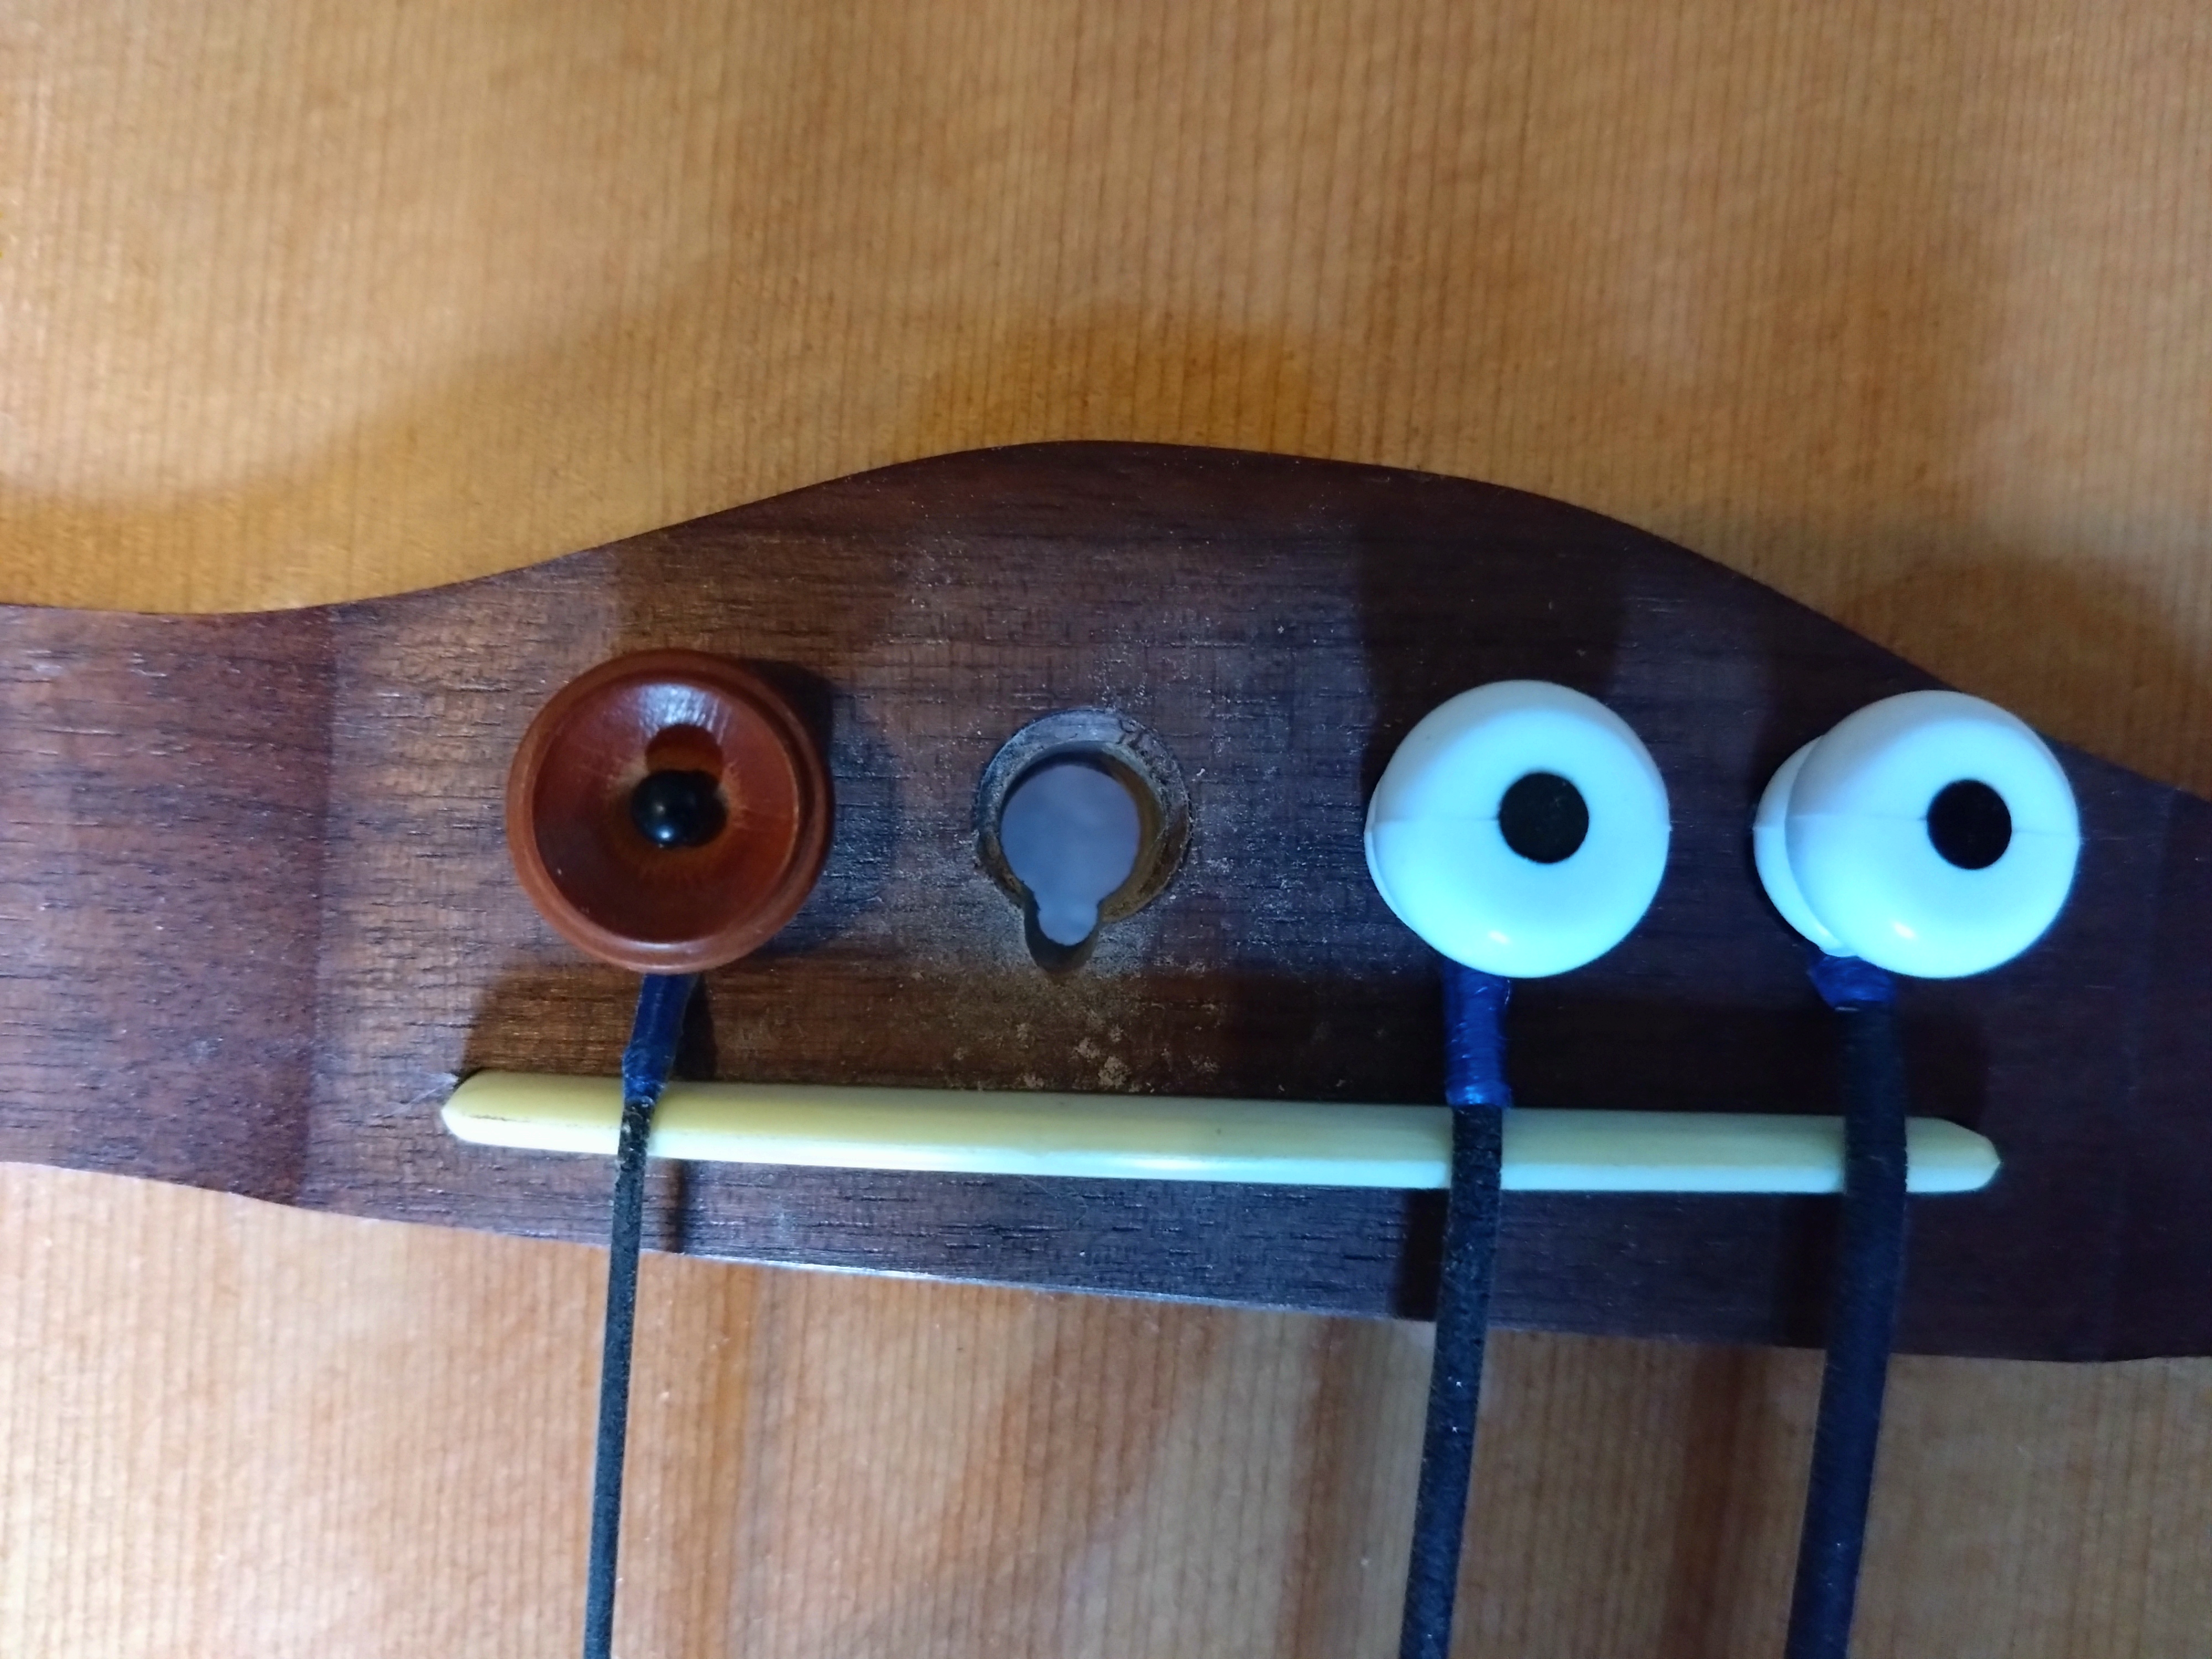
There should be enough space for the string to run alongside the pin
You want the string to have good contact all the way through the bridge. How you achieve this will depend on your strings, and which files you have. Take your time and make a nice smooth channel.
Carefully make a smooth curve at the top of the channel
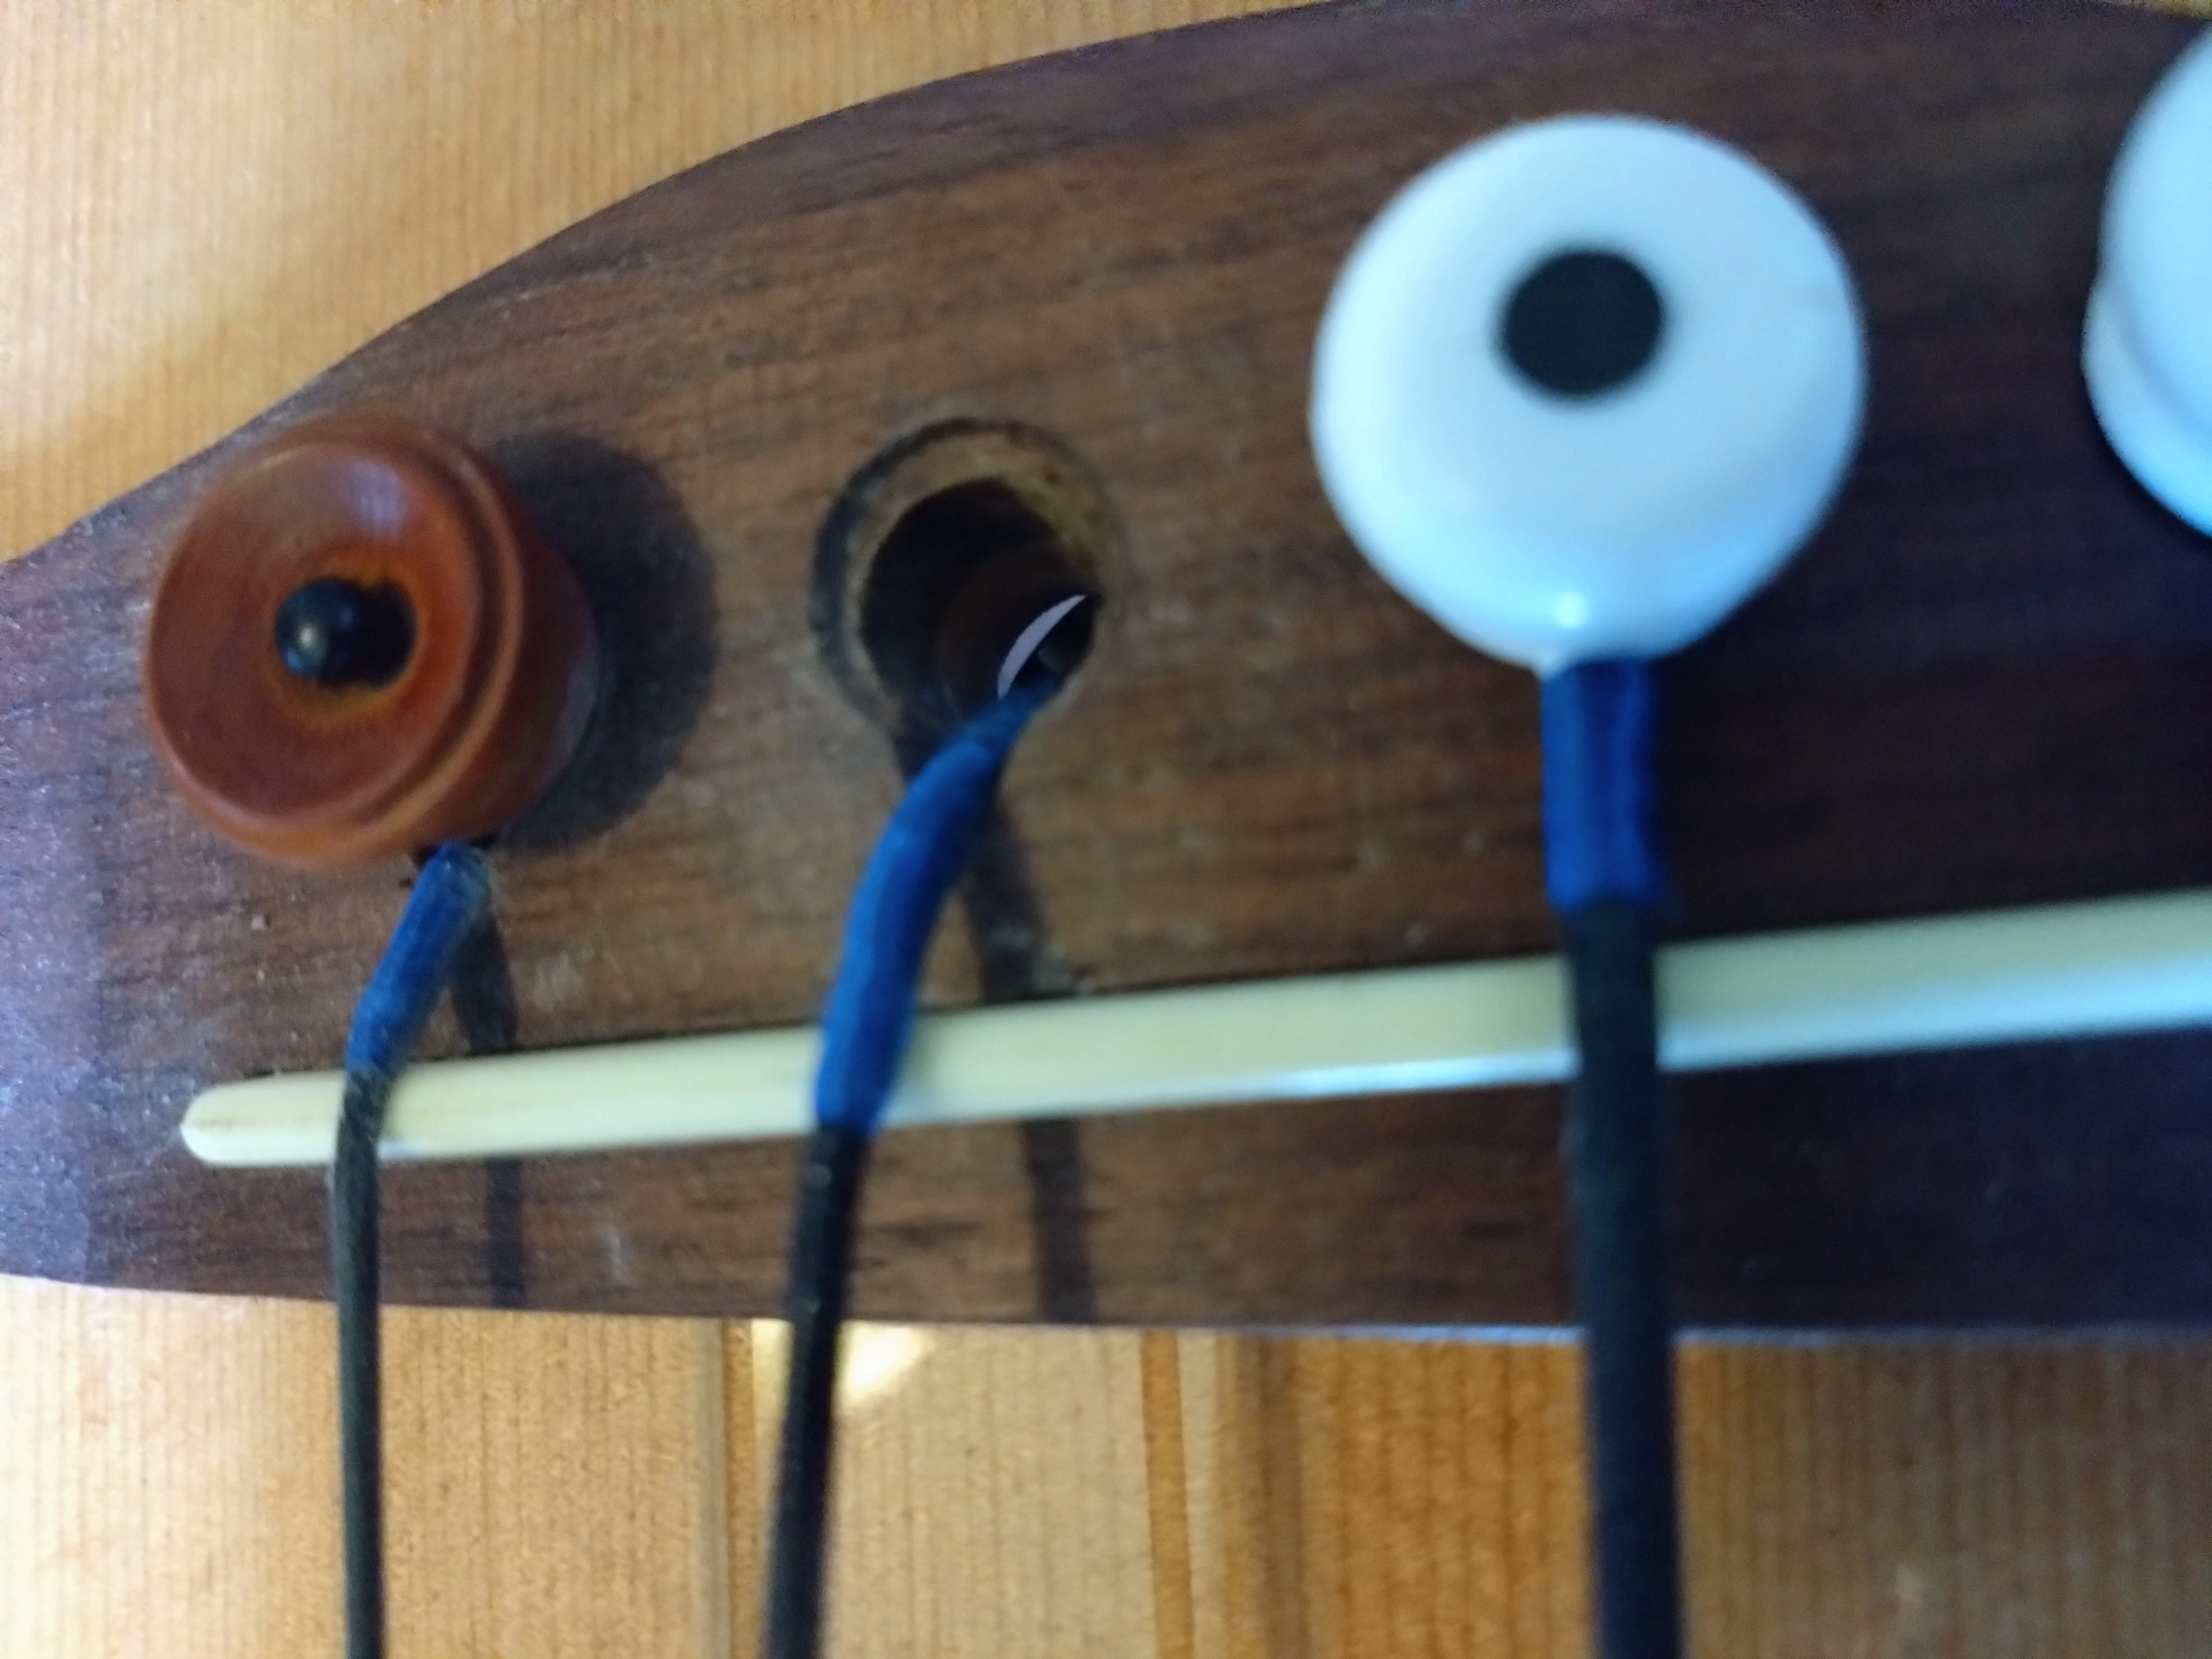
Keep checking to see how well the string fits
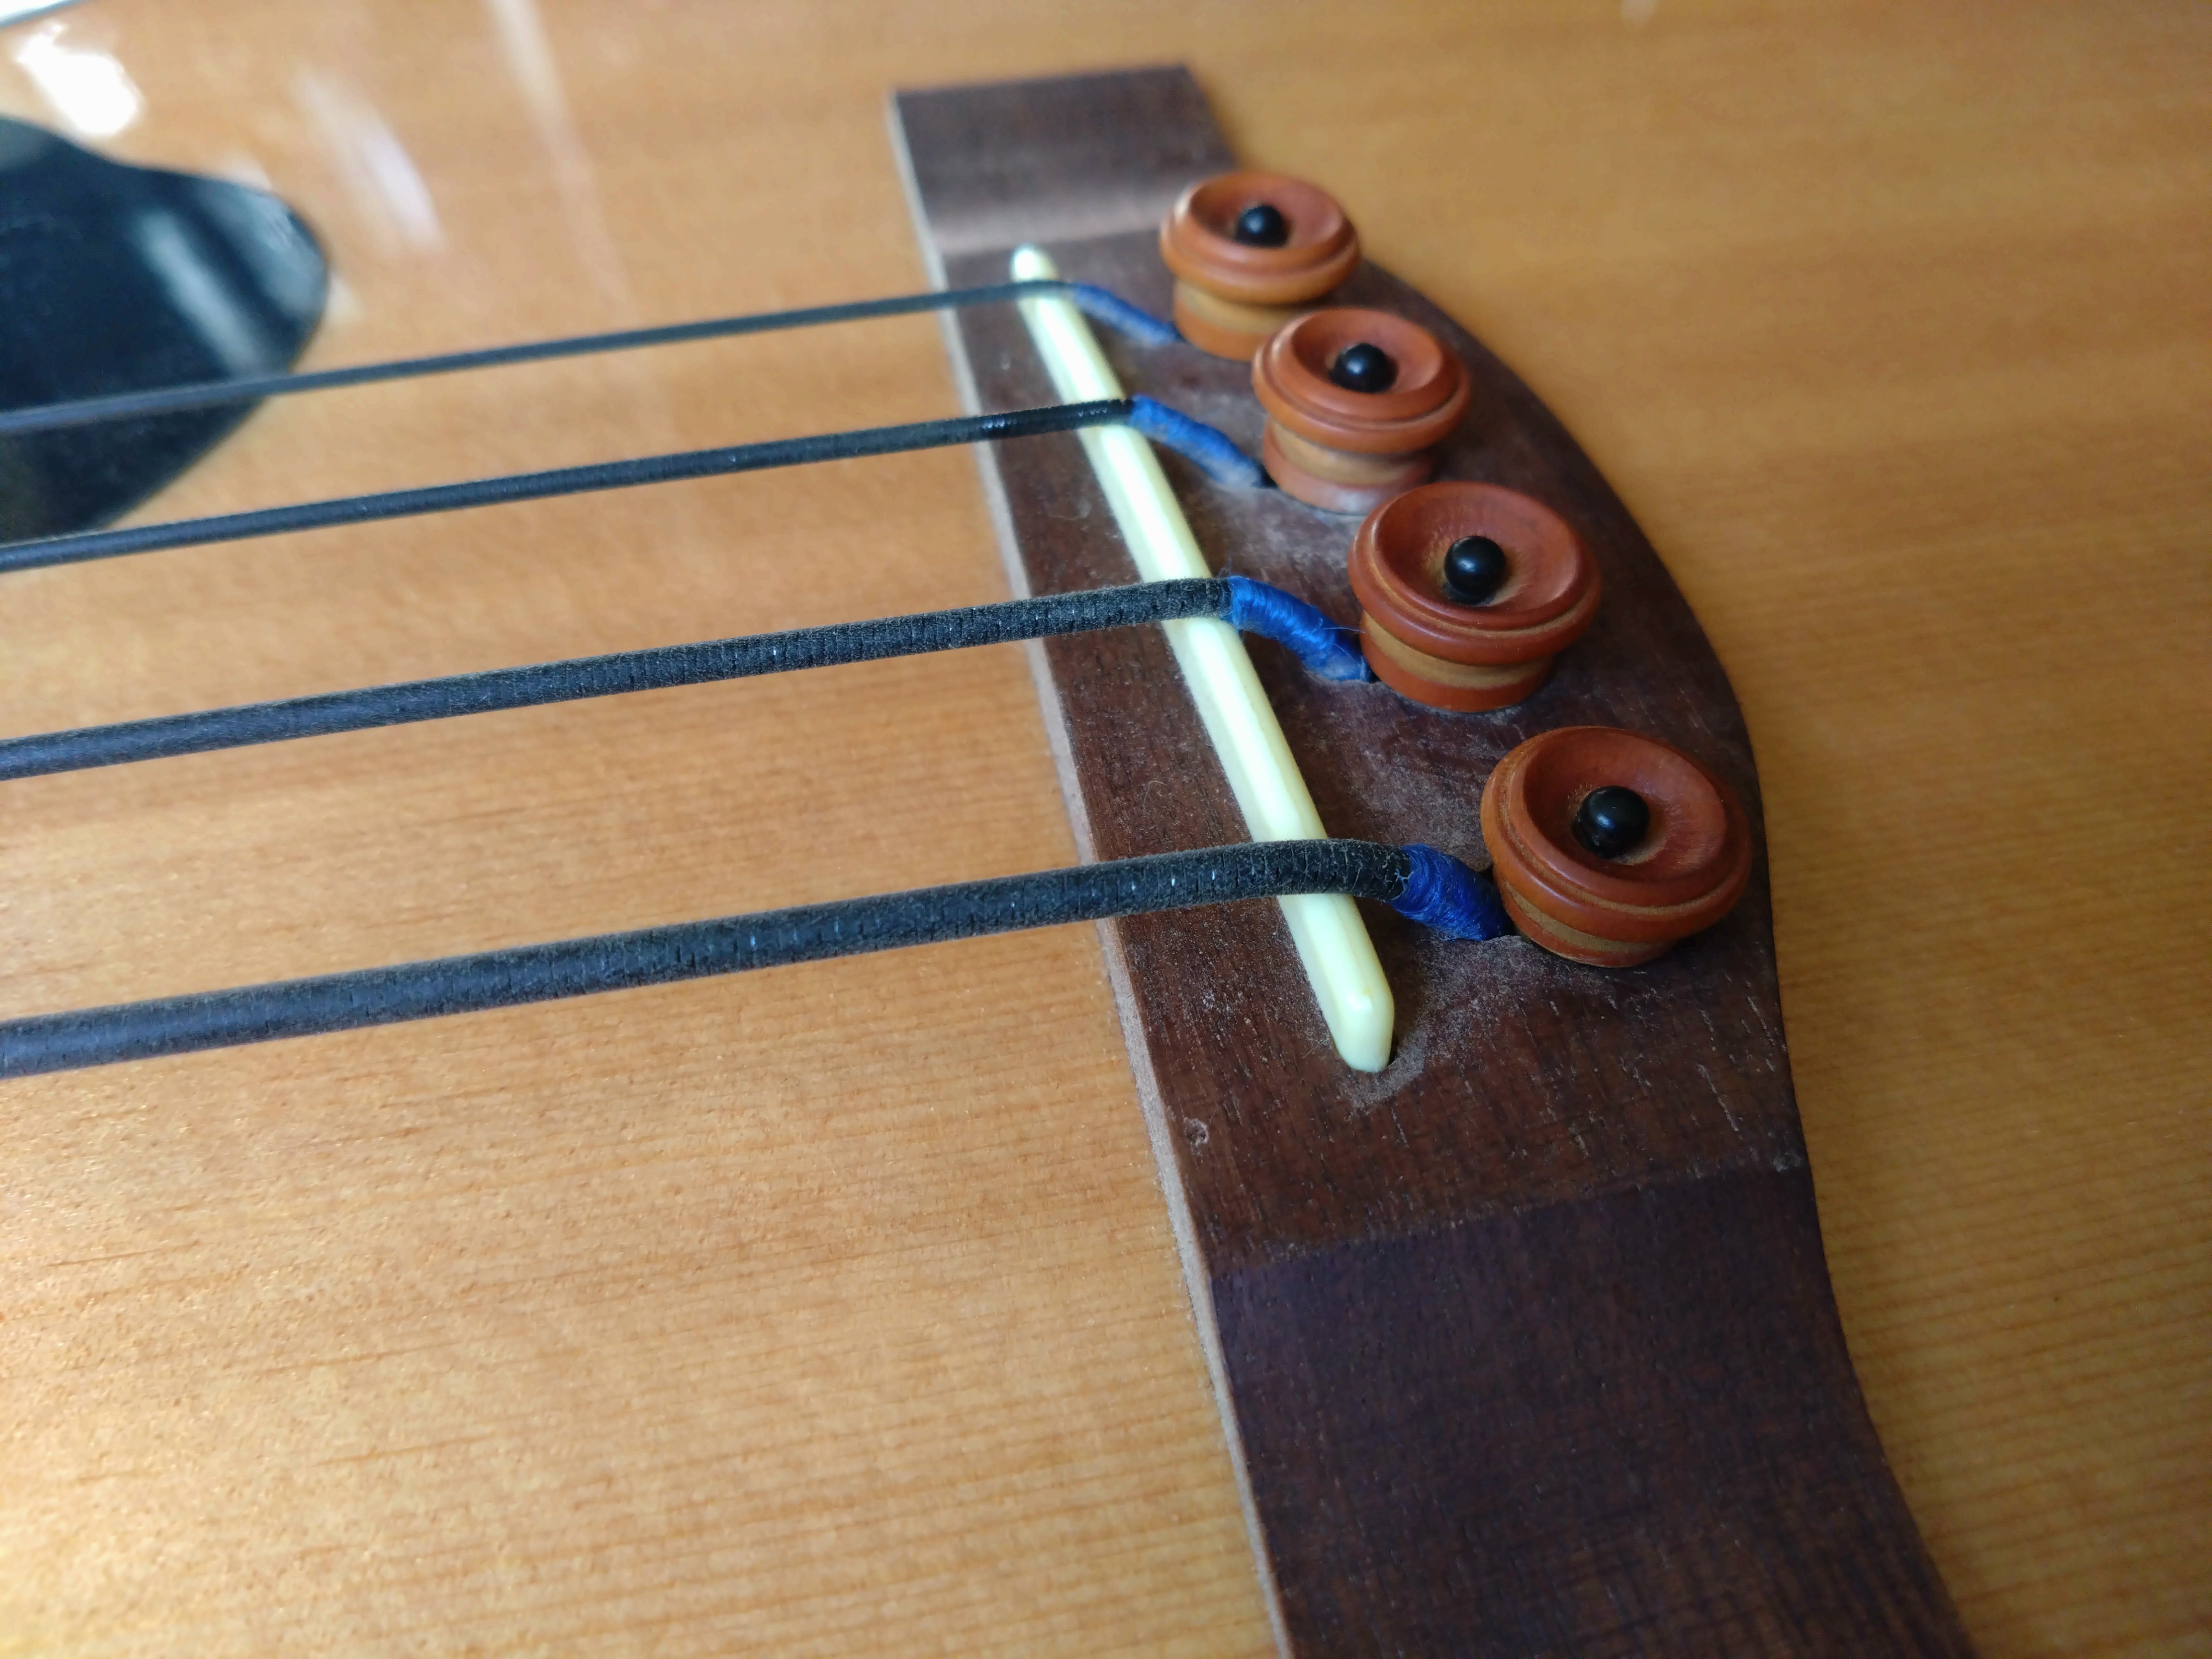
You should be able to easily get the pin in and out with the string in place. It may be time consuming but don't stop when you can only just get it in. Make sure it's not too tight.
That's all there is to it. Your instrument should now look better, and possibly sound better too.
Acoustic bass guitar, now contains sawdust
I will do a follow-up post with audio samples of my bass before and after the procedure, to get a sense of how it changed the character of the sound.